Achieve Perfect Oven BBQ Thighs: Juicy, Tender & Caramelized Every Time
Imagine biting into a succulent piece of chicken, its skin perfectly caramelized, its meat fall-off-the-bone tender, and bursting with smoky-sweet barbecue flavor. Now imagine achieving this culinary masterpiece right in your own kitchen, without ever firing up a grill. This isn't a dream; it's the delicious reality of
quick & easy oven BBQ chicken thighs. Forget unpredictable weather or propane tanks; with a few simple steps and the magic of your oven, you can create a memorable meal that rivals any backyard cookout. This guide will walk you through transforming ordinary chicken into extraordinary, sticky, saucy perfection, ensuring your bbq chicken thighs are consistently juicy, tender, and irresistibly caramelized.
Setting the Stage for Success: Prepping Your BBQ Chicken Thighs
The journey to perfect oven bbq chicken thighs begins with meticulous preparation. While seemingly minor, these initial steps lay the groundwork for optimal texture and flavor adherence.
Choosing and Prepping Your Chicken
While this recipe is incredibly versatile, boneless, skinless chicken thighs are often recommended for their quick cooking time and inherent juiciness, making them forgiving for even novice cooks. Typically, 8 boneless, skinless thighs will weigh approximately 2 to 2.5 lbs, but you can easily scale ingredients up or down to feed your family. If you opt for bone-in, skin-on thighs, or even chicken breasts, be prepared to adjust your cooking times accordingly. Bone-in cuts generally require longer baking, and skin-on varieties will yield an even crispier exterior, though the fat content of the thigh already ensures a moist result.
Regardless of your choice, the most crucial preparatory step is often overlooked: *patting the chicken thoroughly dry*. Using paper towels, firmly blot all surfaces of the chicken thighs. This seemingly small action makes a huge difference. Moisture on the surface creates steam, which hinders the development of a crispy exterior and prevents your delicious rub from adhering properly. A dry surface allows the rub to form a crust and the eventual BBQ sauce to caramelize beautifully, leading to that coveted "charred" effect without a grill.
The Importance of Your Baking Setup
For easy cleanup and optimal cooking, always line your baking sheet or roasting pan with heavy-duty aluminum foil. This acts as a protective barrier, catching any drips and preventing the caramelized sauce from cementing itself to your pan. While parchment paper is often a go-to for baking, it's not recommended here. If you plan to use the broiler for extra char (which we highly recommend for that authentic BBQ finish), parchment paper can easily catch fire at such high temperatures. A standard metal baking rack placed over the foil-lined pan is also an excellent addition, as it elevates the chicken, allowing air to circulate around all sides. This promotes even cooking and ensures the bottom of the thighs don't sit in their own juices, leading to a crispier result.
Crafting the Flavor Profile: Rubs and Sauces
The heart and soul of any great BBQ dish lie in its seasoning. For oven bbq chicken thighs, this means a dynamic rub and a luscious sauce working in harmony.
The Art of the Dry Rub
A well-crafted dry rub is essential for building a deep, complex flavor from the inside out. While you can certainly reach for a high-quality store-bought BBQ rub, creating your own offers unparalleled customization. A classic homemade blend might include a balance of sweet, savory, and a hint of heat:
- Brown Sugar: For sweetness and a beautiful caramelization.
- Smoked Paprika: To impart that quintessential smoky flavor, even without a grill.
- Garlic Powder & Onion Powder: Aromatic foundational flavors.
- Chili Powder: For a subtle warmth and earthy depth.
- Salt & Black Pepper: Essential flavor enhancers.
- Optional Kick: A pinch of cayenne pepper or red pepper flakes if you prefer a spicier profile.
Don't be shy with your seasoning. Once combined, generously sprinkle the rub on all sides of the dried chicken thighs, massaging it gently to ensure an even coating. The amount isn't strictly measured; aim for a visible layer that coats the entire surface. This dry rub not only infuses flavor but also contributes to the crispy crust as the chicken bakes.
Selecting Your Signature BBQ Sauce
The BBQ sauce is what transforms seasoned chicken into sticky, saucy, oven bbq chicken thighs. This is where personal preference truly shines. Whether you lean towards a tangy Carolina vinegar-based sauce, a sweet Kansas City-style glaze, a mustard-based sauce, or a spicy Texas concoction, choose a sauce you genuinely love. A good quality store-bought sauce is perfectly acceptable and convenient, making this an
effortless oven BBQ chicken thighs recipe. Alternatively, if you're feeling adventurous, a homemade BBQ sauce allows for even greater control over the flavor profile. Remember, the sauce provides the majority of the "barbecue" flavor, so don't skimp on quality.
The Art of Oven Baking: Temperature and Timing for Perfection
Mastering the oven temperature and timing is key to achieving that perfect balance of juicy interior and caramelized exterior.
The Ideal Temperature: 400°F
Baking your bbq chicken thighs at 400°F (200°C) is ideal for several reasons. This high heat ensures the chicken cooks through relatively quickly while sealing in the moisture, preventing it from drying out. More importantly, this temperature facilitates the Maillard reaction – the chemical process responsible for browning and the development of rich, complex flavors on the chicken's surface. It creates that sought-after slightly charred exterior, mimicking the kiss of an outdoor grill.
Preheat your oven to 400°F (200°C) and place your seasoned chicken thighs on your prepared baking sheet (preferably on a rack) in the middle of the oven. Bake for an initial 15-20 minutes. This first phase allows the chicken to cook most of the way through and the rub to form a flavorful crust.
The Saucing & Caramelization Process
This is where the magic happens! After the initial baking period, remove the chicken from the oven. Now, it's time to generously brush each thigh with your chosen BBQ sauce. The key here is *timing*. Applying the sauce too early can lead to it burning before the chicken is fully cooked, due to the high sugar content in most BBQ sauces. Brushing it on during the final stages allows the sauce to caramelize and become deliciously sticky without scorching.
Return the sauced chicken to the oven for another 5-10 minutes. During this time, the sauce will thicken and caramelize, creating that irresistible sticky glaze. For an extra layer of char and true "grilled" aesthetics, consider a quick finish under the broiler. Place the chicken under the broiler for just 1-2 minutes, keeping a very close eye on it, as sugars can burn quickly. You're looking for bubbling sauce and lightly browned, almost blackened edges.
The Meat Thermometer: Your Best Friend
There's one indispensable tool for perfectly cooked chicken: a reliable meat thermometer. Always insert it into the thickest part of the thigh, avoiding any bone. The chicken is safely cooked when it reaches an internal temperature of 165°F (74°C). While cooking times are a good guideline (totaling around 20-30 minutes for boneless, skinless thighs at 400°F), actual times can vary based on the thickness of the chicken and your oven's calibration. Trust the thermometer for consistent, safe, and perfectly juicy results.
Once cooked, remove the bbq chicken thighs from the oven and let them rest for 5-10 minutes before serving. This resting period allows the juices to redistribute throughout the meat, ensuring every bite is as tender and juicy as possible. You can even brush with a little extra warm BBQ sauce just before serving for an added layer of flavor and gloss.
Serving Suggestions and Beyond
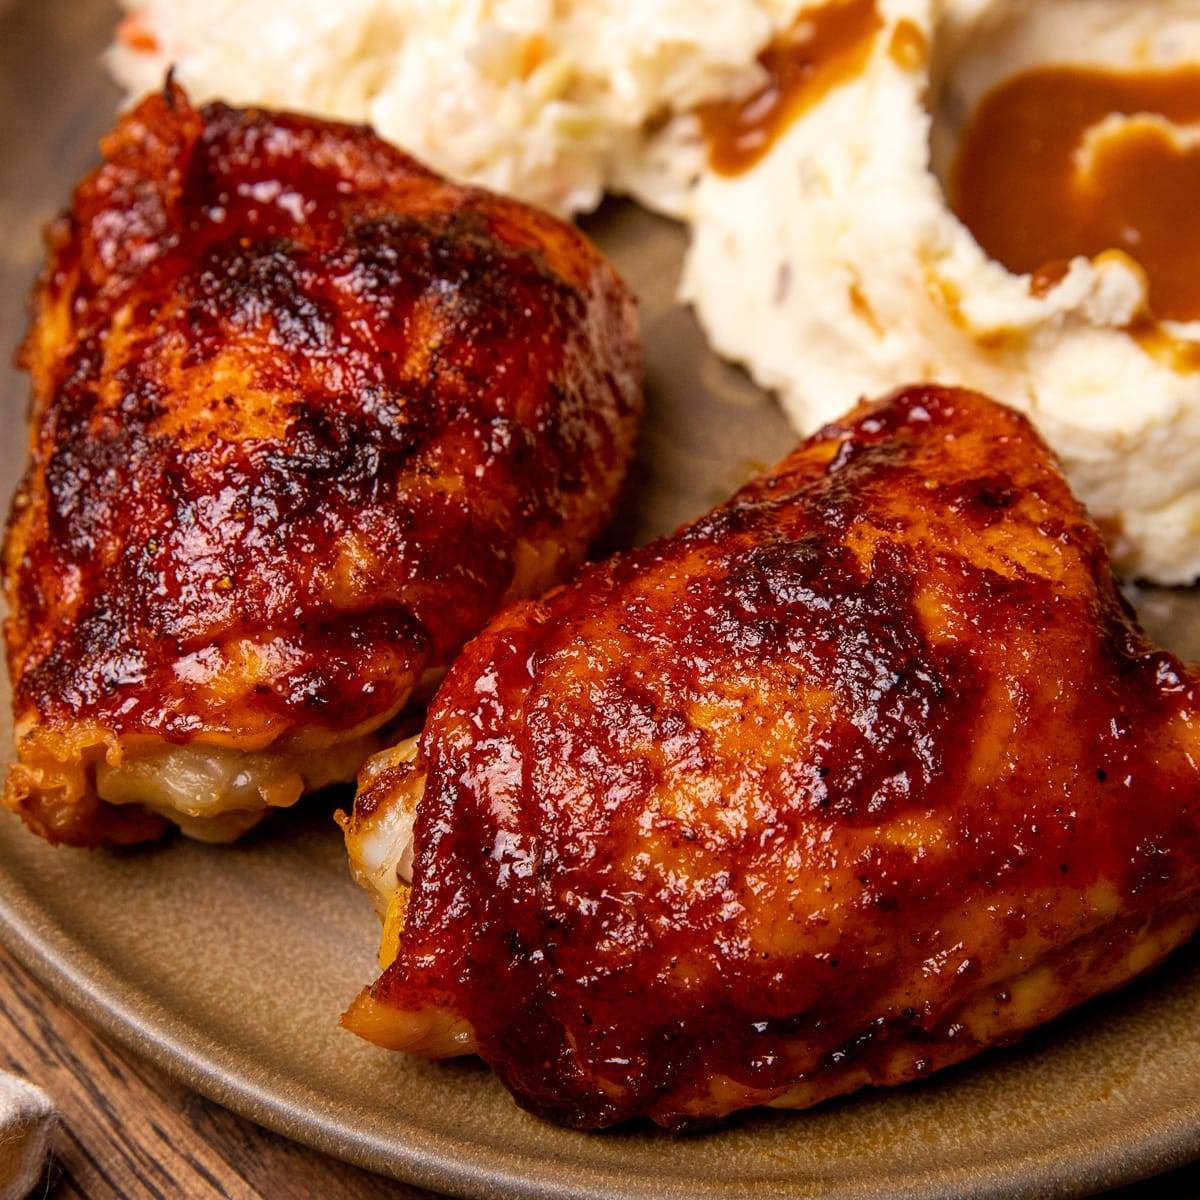
Oven bbq chicken thighs are incredibly versatile and pair well with a multitude of side dishes. Classic accompaniments include creamy coleslaw, fluffy mashed potatoes, corn on the cob, mac and cheese, or a fresh green salad. For a lighter meal, serve them alongside roasted vegetables like asparagus or broccoli. These thighs are also fantastic for meal prepping; simply cook a larger batch and portion them out for lunches throughout the week. Store any leftovers in an airtight container in the refrigerator for up to 3-4 days.
In conclusion, achieving perfect oven bbq chicken thighs is an incredibly rewarding culinary endeavor. By focusing on proper preparation, thoughtful seasoning, precise temperature control, and strategic saucing, you can create a dish that boasts all the smoky, sweet, and tangy flavors of a summer cookout, effortlessly from your oven. So go ahead, gather your ingredients, follow these steps, and prepare to delight your family and friends with chicken that is consistently juicy, tender, and beautifully caramelized.